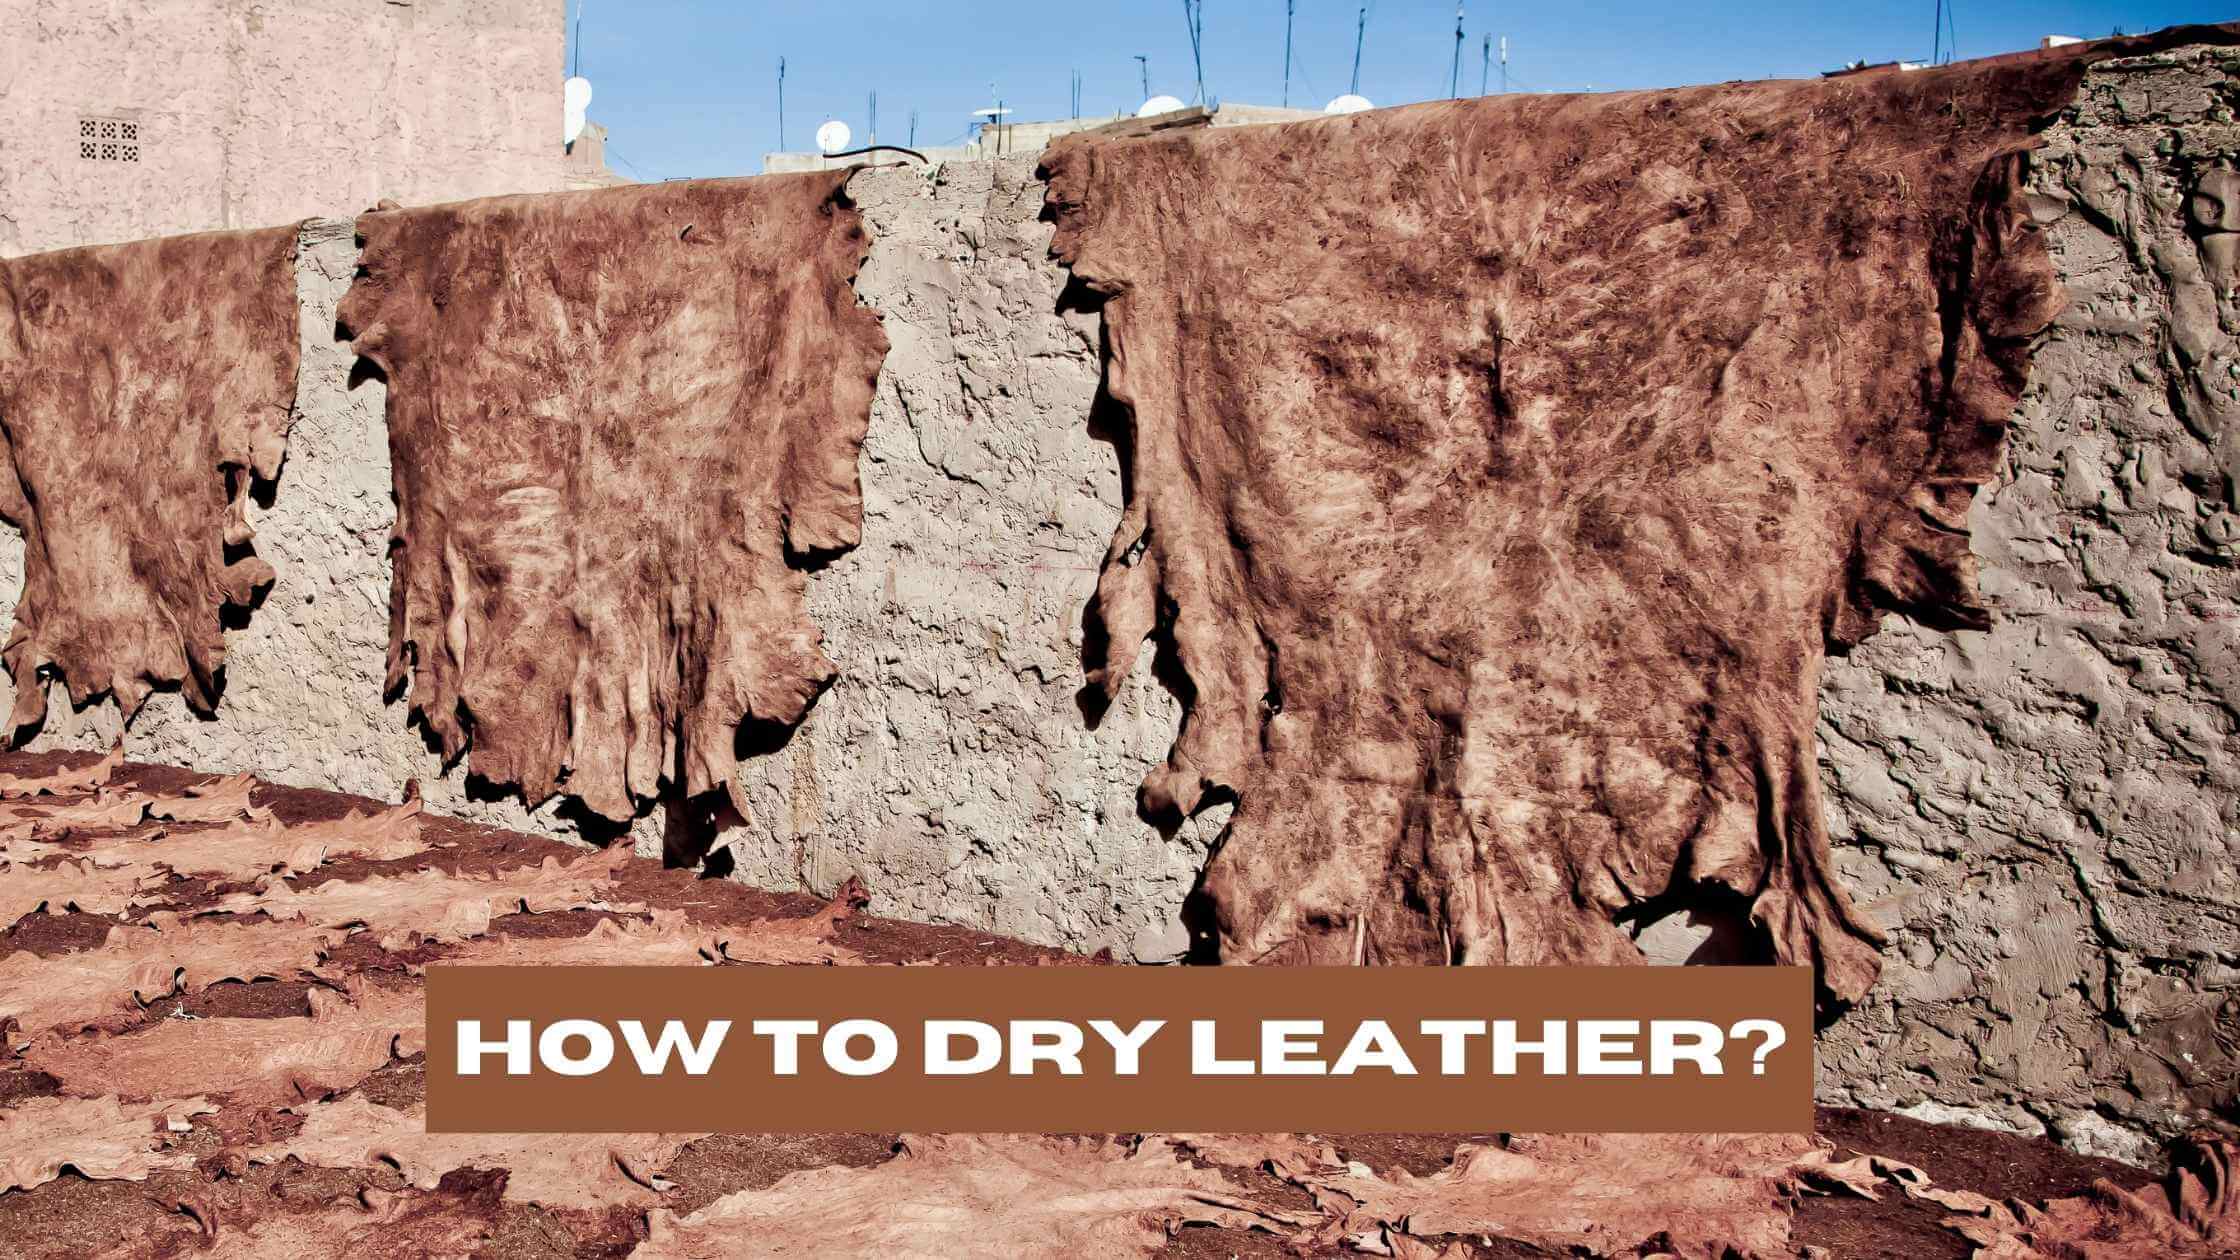
If you’ve got your leather wet, the most important thing to do is dry it properly. This will help protect your investment and give you lots more use- almost like it never happened. Time is of the essence, so get reading!
Main Points:
- Act Quickly: When leather gets wet, it’s crucial to start drying it immediately to maintain its quality and extend its lifespan.
- Gentle Blotting and Shape Maintenance: Use a soft microfiber cloth to blot the leather, and support its shape with towels for items like boots or bags, and padded hangers for jackets.
- Use Leather Conditioner: Apply a quality leather conditioner when the leather is slightly damp to replenish lost oils and ensure longevity.
- Natural Drying Process: Allow the leather to dry naturally, avoiding the use of hair dryers or other artificial heat sources that can cause damage.
- Buffing and Waterproofing: Once dry, gently buff the leather to restore its texture and apply a waterproofing agent to protect it in the future.
- Avoid Direct Heat and Sunlight: For even drying, place leather items in a cool, well-ventilated, and dark space to prevent uneven drying or warping. Avoid using hair dryers, microwaves, or tumble dryers on leather.
Time Matters: Quick Actions for Wet Leather
First and foremost, act swiftly when your leather gets wet. Prompt drying is key to maintaining its quality and extending its lifespan. It’s like erasing a mistake before it sets in.
Step-by-Step Guide to Proper Drying
Blotting Out Moisture: Start by gently blotting your leather with a soft microfiber cloth. This absorbs excess water, reducing damage risks.
Maintaining Shape: Leather can warp when wet. To avoid this, stuff boots or bags with towels to retain their form. Lay out jackets on padded hangers, ensuring they don’t touch themselves as they dry.
Leather Conditioning: When slightly damp, treat your leather with a quality conditioner. This step replenishes lost oils, crucial for leather’s longevity.
Natural Drying: Patience is your ally here. Let your leather dry naturally, avoiding shortcuts like hair dryers which harm more than help.
Buffing: Once fully dry, gently buff the leather. This evens out the conditioner and restores texture.
Future Protection: Finally, apply a high-quality waterproofing agent. This simple step can save you from repeating the entire process.
Pro Tip: For even drying, place your leather items in a well-ventilated, cool, and dark space. Direct sunlight or heat sources can cause uneven drying and potential warping.
Leather’s Reaction to Water
Absorption and Oil Loss: Water doesn’t just wet leather; it draws out vital oils, leading to premature aging. Thus, it’s not just drying but also oil replenishment that matters.
Air-Drying: The Best Method
Fan-Assisted Drying: You can use a fan to expedite drying, but remember to keep it oscillating to prevent uneven drying.
Avoid These at All Costs
Hair Dryers and Microwaves: Never use these on leather. They cause more harm than good, leading to dry, brittle leather.
Dryers – A Risky Business: Even on cold settings, tumble dryers can misshape your leather items.
How Long Does It Take?
Patience Pays Off: Depending on the item and its wetness level, drying can take up to two days or more. Leather jackets, with their linings, might take longer.
Fun Fact: Did you know that ancient civilizations used leather for water storage? Their treatment methods made it water-resistant, a stark contrast to our modern-day challenges with wet leather!
Conclusion
There you have it – my comprehensive guide to drying leather. Each step is crucial to ensure your beloved leather items remain in top condition. Remember, patience and proper care are the hallmarks of a true leather craftsman.

